Disclosure: As an Amazon Associate I earn from qualifying purchases. This post may contain affiliate links at no extra cost to you.
- Oiling frequency: Apply 3 drops of mineral oil across blade teeth after every 2-3 home cuts or after every client in barbershops.
- Why dedicated oil matters: Pure ISO VG 15 white mineral oil withstands high oscillation friction without gumming up; never use WD-40 or cooking oils.
- 3-Point oiling method: Apply 1 drop to left corner, 1 to center, 1 to right corner, run 5 seconds, and wipe away all exterior excess.
Hair clippers operate by moving a high-speed cutter blade back and forth across a stationary comb plate at frequencies up to 10,000 strokes per minute (SPM). Without proper lubrication, metal-on-metal friction creates rapid thermal expansion, abrasive microscopic wear, and increased electrical resistance in the drive motor.
Establishing a consistent lubrication schedule requires selecting the correct oil chemistry, applying exact drop quantities, and maintaining clean blade surfaces. This guide breaks down oiling schedules, oil chemical properties, the 3-point application technique, and common lubrication mistakes.
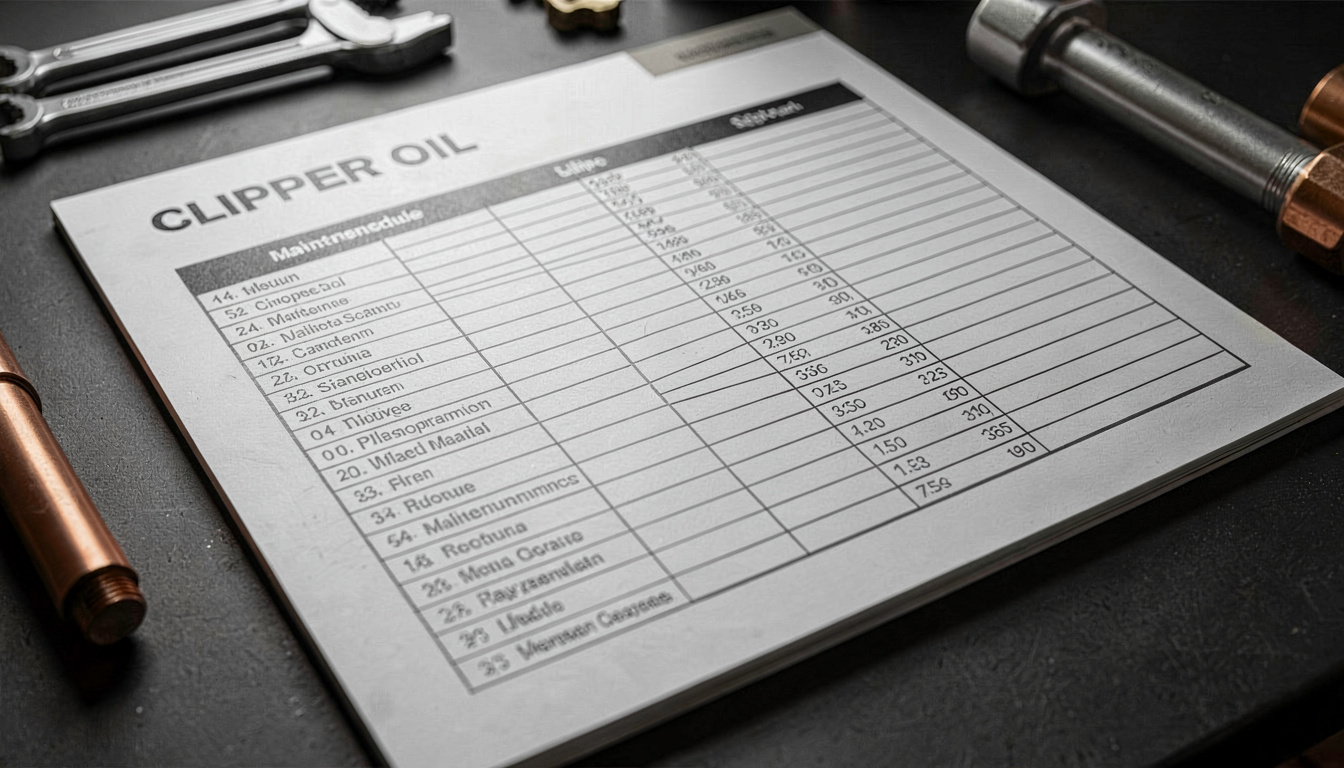
| Usage Level | Oiling Frequency | Drop Volume | Cleaning Routine | Failure Risk Without Oil |
|---|---|---|---|---|
| Personal Home Use | Every 2 to 3 Haircuts | 3 Drops (Teeth) + 2 Drops (Rails) | Brush hair dust post-cut | Blade dullness, hair pulling |
| Barbershop Commercial | After Every Client | 3 Drops (Teeth) | Blade disinfectant spray + wipe | Severe heat, premature motor burnout |
| Post-Disinfectant Spray | Immediately After Spraying | 3 Drops (Teeth) | Alcohol spray evaporates oil film | Flash oxidation & surface rust |
| Long-Term Storage | Before Packing Away | 5 Drops (Full coat) | Deep degrease + dry coat | Atmospheric humidity pitting |
Why Dedicated Clipper Oil Chemistry Matters
Clipper blades require a specific viscosity lubricant: ISO VG 15 light mineral oil. Unlike heavy motor oils or silicone sprays, pure white mineral oil features low surface tension that flows evenly into micro-grooves between moving steel teeth without forming sticky residues. In practice, using vegetable cooking oil or olive oil causes disastrous results: organic oils oxidize when exposed to air and heat, turning into a gummy varnish that binds blade teeth and burns out clipper motors.
The Problem With Solvent Sprays (WD-40)
WD-40 and aerosol penetrating sprays are solvents designed to break down rust, not sustain high-speed boundary lubrication. Spraying WD-40 onto clipper blades strips away essential lubricating oil films and dissolves internal grease packed inside motor drive bearings, leading to rapid mechanical failure.
Step 1: How to Clean Hair Dust Before Oiling
Oiling over dirty, hair-clogged blades traps abrasive debris between cutting edges. Follow this cleaning protocol:
- Turn Off Clipper: Unplug corded clippers or power down cordless units.
- Brush Away Loose Hair: Use a stiff nylon cleaning brush to sweep hair clippings out from between blade teeth, housing seams, and taper lever slots.
- Wipe Away Sebum: Wipe blade mating surfaces with a dry tissue to remove hair sebum and moisture.
Step 2: The 5-Drop Lubrication Protocol
Apply oil precisely using this industry-standard 5-drop method:
- Apply 3 Drops to Teeth: Place 1 drop of clipper oil on the outer left tooth, 1 drop in the center, and 1 drop on the outer right tooth of the moving cutter blade.
- Apply 2 Drops to Guide Rails: Tilt the clipper sideways and place 1 drop of oil onto each rear metal guide rail heel where the cutter plate slides against the comb.
- Distribute Oil Film: Turn the clipper ON for 5 to 10 seconds, toggling the taper lever forward and back to spread the oil film evenly across all contact surfaces.
- Wipe Off Exterior Excess: Turn the clipper OFF. Use a clean paper towel or tissue to wipe away ALL excess oil from the exterior blade teeth and plastic housing. Excess oil left on exterior teeth transfers onto hair during cutting.
What Are the Common Oiling Mistakes to Avoid?
Avoid these frequent maintenance errors:
Squeezing massive amounts of oil onto blade heads allows liquid to migrate inside the plastic housing, soaking internal motor windings and electronic circuit boards. Over-oiling short-circuits lithium-ion batteries and attracts heavy hair dust buildup. Always use precise single drops.
Another error is assuming disinfectant 5-in-1 sprays provide permanent lubrication. Alcohol-based coolant sprays sanitize blades and blow away hair, but their alcohol content rapidly evaporates existing oil films. Always follow disinfectant spray applications with 3 fresh drops of mineral clipper oil.
What Does Dermatology and Equipment Guidance Recommend?
Health and sanitation institutions maintain strict rules regarding clipper blade lubrication and hygiene.
Understanding Surface Tension and Capillary Action
Dedicated clipper oil exhibits ultra-low surface tension (approx 28 dynes/cm), allowing it to migrate via capillary action into microscopic spaces between flat metal mating faces. Heavy motor oils (SAE 30) have high surface tension, forming thick droplets that fling off high-speed blades during operation.
Long-Term Storage Rust Prevention
Before storing clippers for over 30 days, clean blades thoroughly with alcohol, dry completely, and coat all metal surfaces generously with 5 drops of mineral oil. Place the clipper in a dry storage case with a silica gel desiccant packet to prevent atmospheric humidity rusting.
Decontaminating Clipper Blades After Liquid Coolants
Aerosol 5-in-1 coolant sprays quickly freeze and sanitize hot clipper blades during busy cutting sessions. However, alcohol-based coolants strip away protective mineral oil films within seconds. Always apply 3 fresh drops of clipper oil immediately after using coolant sprays to prevent rapid rust formation.
Recognizing Friction Heat Signals During Cutting
If clipper blades feel hot against the skin after 3 minutes of cutting, friction is excessive. Touch the blade back to your wrist periodically; if it feels warm, pause immediately to brush out trapped hair dust and apply 3 drops of mineral oil to cool the metal assembly.
Understanding Viscosity Degradation Under Heat
High blade temperatures alter oil viscosity. Heavy automotive or household oils thin out rapidly under friction heat, spinning off blade teeth and spraying onto the user. Dedicated ISO VG 15 mineral clipper oil maintains stable viscosity up to 80°C, providing continuous film protection.
Preventing Corrosion Pitting in Humid Environments
Storing clippers in damp bathroom cabinets exposes steel blades to ambient humidity, causing microscopic rust pitting along cutting edges. Pitted steel teeth snag hair shafts and feel scratchy on the skin. Always dry blades thoroughly and coat with mineral oil before storage.
Preventing Blade Rust in Humid Bathroom Environments
Storing hair clippers in damp bathroom environments exposes steel blades to atmospheric moisture, causing microscopic rust pitting along cutting edges. Applying 3 drops of mineral oil after each use creates a hydrophobic barrier that prevents rust formation.
Evaluating Chemical Properties of Synthetic vs Mineral Clipper Oils
Mineral clipper oils are distilled paraffinic hydrocarbons refined to remove impurities. Unlike synthetic industrial oils that contain extreme-pressure additives, white mineral oil is inert, odorless, non-staining, and safe for incidental skin contact during hair cutting.
Limitations and Tradeoffs of Clipper Oil Maintenance
While regular oiling minimizes friction and heat, it cannot reverse physical blade wear or structural damage. If blade teeth are physically pitted, chipped, or ground down from years of use, applying oil will not eliminate hair pulling. Dull blades must be resharpened or replaced regardless of lubrication frequency. Additionally, mineral oil attracts airborne dust if excess oil is not thoroughly wiped from outer blade surfaces after application.
Frequently Asked Questions
How often should I oil my hair clippers?
For personal home use, oil your clipper blades after every 2 to 3 haircuts, or immediately after using liquid cooling/disinfectant sprays. For professional barbershop use, apply 3 drops of clipper oil across the blade teeth after every single client haircut.
Can I use WD-40 or 3-in-One motor oil on hair clippers?
No, never use WD-40, 3-in-One motor oil, vegetable cooking oil, or heavy automotive lubricants on hair clippers. WD-40 is a solvent that strips protective grease from internal motor bearings, while vegetable oils gum up, turn rancid, and trap hair dust between blade teeth.
What happens if you run clippers without oil?
Running un-oiled clippers causes extreme metal-on-metal friction, raising blade head temperatures above 50°C within 3 minutes.
How many drops of oil should I apply to clipper blades?
Apply 3 small drops of specialized mineral clipper oil across the top teeth of the moving cutter blade (left corner, center, right corner) and 1 drop onto each rear guide rail heel. Turn the clipper on for 5 seconds to distribute the oil film, then wipe away excess oil with a tissue.
What is dedicated hair clipper oil made of?
Dedicated clipper oil is a highly refined, low-viscosity, clear mineral oil (specifically white mineral oil ISO VG 15). It contains zero solvent additives, does not evaporate under high heat, and remains skin-safe and odorless.
Related Reading
- how to maintain hair clippers: complete cleaning guide
- clipper blade sharpening guide: whetstone lapping
- best clipper maintenance practices for barbers
- cordless vs corded clippers: torque and runtime
- clipper motor types explained: rotary vs magnetic
Sources and Further Reading
The guidance in this article draws on published material from the following organizations:
- Razor bump prevention tips — American Academy of Dermatology
Last updated: August 22, 2026
4 thoughts on “Clipper Oil Maintenance Schedule”