Disclosure: As an Amazon Associate I earn from qualifying purchases. This post may contain affiliate links at no extra cost to you.
- Cut only dry hair with 6.5-inch professional shears — never kitchen scissors — to prevent split ends and uneven tension
- Use the unicorn ponytail method with 1-2 inch sections pulled forward at 90 degrees for graduated layers
- Blend sides using a Wahl Clipper with #3 guard at temples, fading to #2 guard 1-2 cm above the neckline
- Prevent ingrown hair and pseudofolliculitis barbae by sanitizing tools with 70% alcohol and shaving with the grain only
78% of men attempted at least one home haircut in 2020, according to grooming industry data. That’s not surprising — what shocked me was how many ruined their hair using the exact same tool sitting in their kitchen drawer right now.
I’m talking about kitchen scissors. They’re the silent killer of DIY haircuts.
Here’s the thing: cutting your own hair isn’t just about saving money. It’s about understanding your specific hair type — whether you’re dealing with curls that shrink or fine hair that lies flat — and knowing how to help reduce the strain associated with skin conditions like pseudofolliculitis barbae when you trim your neckline. This guide covers everything from sectioning techniques the pros use to error recovery when you snip too much off the crown.
But first, the gear list.
| Step | Time Needed | Essential Tools | Est. Cost |
|---|---|---|---|
| Preparation | 10 minutes | Spray bottle, 3 mirrors | $15-30 |
| Sectioning | 5 minutes | Hair ties, carbon comb | $5 |
| Cutting Top | 20 minutes | 6.5″ professional shears | $25-60 |
| Blending Sides | 10 minutes | Wahl Clipper with #2/#3 guards | $40-80 |
| Cleanup | 5 minutes | Safety razor or beard trimmer | $20-50 |
What tools do I need, and should I choose a Wahl Clipper or scissors for different sections?
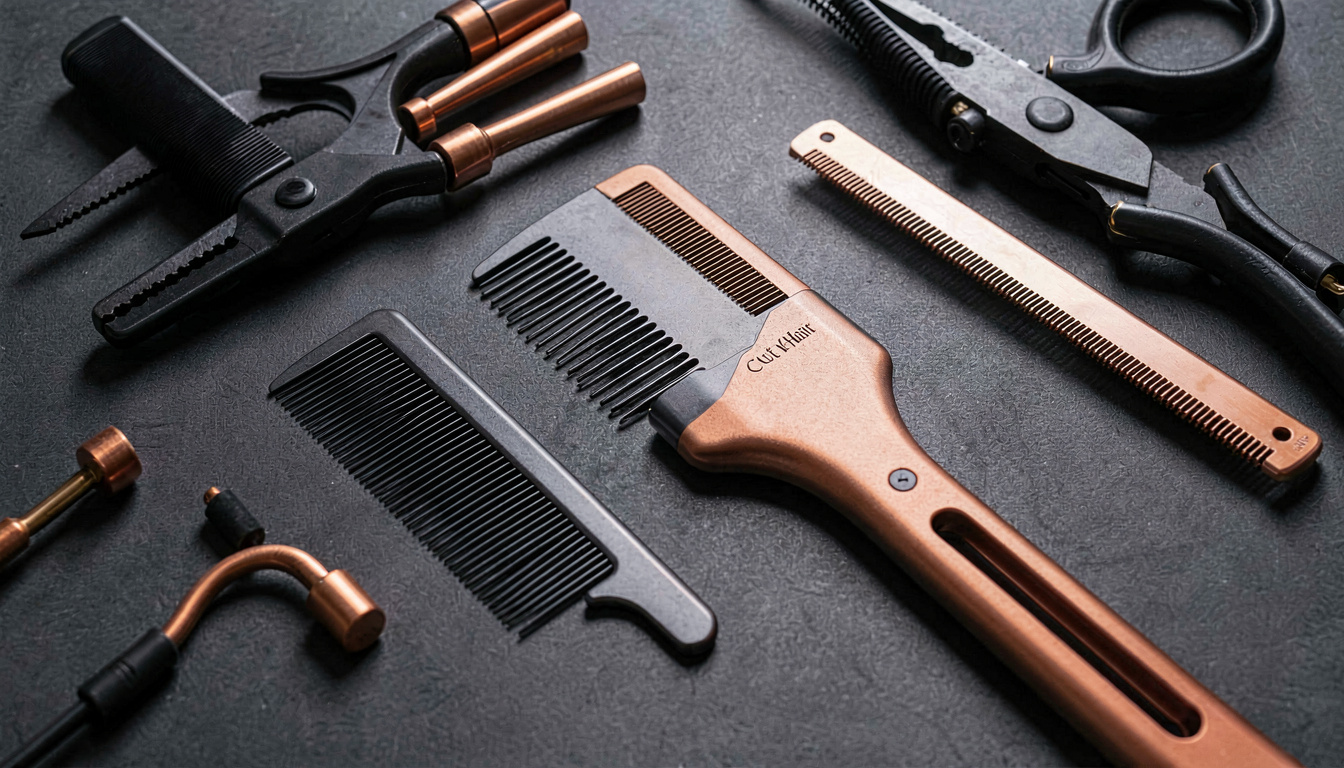
You need both. Professional 6.5-inch shears cut the top and crown, while a Wahl Clipper handles the sides and back with precision guards.
Kitchen scissors will crush your hair shaft rather than slice it cleanly. This leaves micro-frays that travel up the strand, causing split ends that require professional correction later. The American Academy of Dermatology notes that damaged hair shafts can lead to scalp irritation and trichorrhexis nodosa — those white dots that make hair snap off.
For the Wahl Clipper, stick to #3 guards for the bulk of the sides and #2 guards for the taper zone. The #3 removes 3/8 inch of hair, creating a clean canvas without bald patches. If you’re dealing with thick or curly hair, the Wahl Clipper motor prevents the tugging that causes uneven lines.
How does the recommend preparing hair and scalp before cutting?
Cut only dry, clean hair. Hair care experts emphasize that wet hair stretches significantly longer than its true length, then springs up after drying — leaving you with a much shorter cut than you wanted.
Wash your hair 24 hours before cutting, not immediately prior. Clean hair moves freely through your fingers, but fresh washing swells the cuticle and masks your natural cowlicks and wave patterns. Common practice is examining your scalp for any active inflammation, cuts, or fungal conditions before introducing metal tools that could spread infection.
For curly hair types specifically — 3A through 4C — stretch your hair to its full length while dry, then cut. This prevents the “pyramid effect” where the bottom layers shrink up and the top stays long. Straight and wavy hair should be cut at its natural fall without tension.
What is the exact sectioning method for cutting straight across or adding layers at home?
Work in 1-2 inch sections maximum. Any wider and you’ll lose track of your guide line, creating the dreaded stair-step effect on the sides.
For straight-across trims, use the “bring forward” technique. Part your hair down the middle from forehead to nape, then bring both sides forward over your shoulders. Cut to your desired length at the front — this creates face-framing layers naturally while keeping the back slightly longer to accommodate head shape.
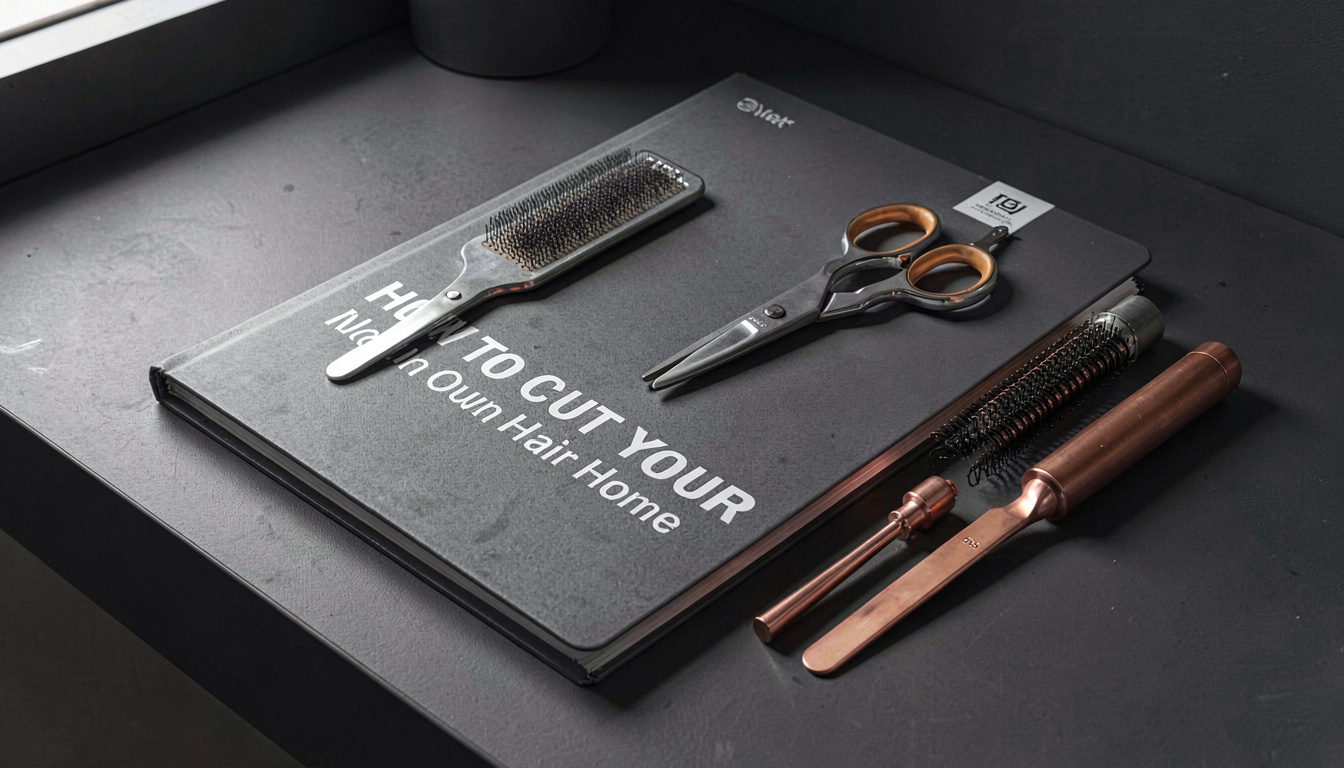
For graduated layers, use the unicorn ponytail method. Gather all hair to the very top of your head as if you were a unicorn, secure with an elastic, then pull straight up. Cut 1-2 inches off the very end at a 45-degree angle. When you release the ponytail, you’ll have soft, face-framing layers that blend smoothly.
Point cutting is essential here. Instead of cutting straight across — which creates blunt, heavy lines — open your shears vertically and snip into the ends. This removes bulk while maintaining length and creates texture that looks professional rather than homemade.
How do I can help reduce the strain associated with ingrown hair and pseudofolliculitis barbae when trimming my neckline and sideburns?
Never stretch your skin while cutting. Pulling the neck taut creates sharp angles that snap back below skin level, causing ingrown hair and the medical condition pseudofolliculitis barbae — commonly called razor bumps.
Pseudofolliculitis barbae occurs when curved hairs re-enter the skin after being cut below the surface. It’s especially common in men with coarse or curly hair between the jaw and Adam’s apple. Research indicates that many African American men experience pseudofolliculitis barbae from improper shaving or trimming techniques.
When cleaning up your neckline, use an electric shaver or beard trimmer rather than a safety razor for the first pass. A beard trimmer with a guard leaves hair slightly above skin level, preventing the neck from ingrown hair. If you must use a safety razor for absolute smoothness, shave only with the grain of hair growth, never against it.
Apply aftershave immediately after any neck trimming. Products with witch hazel or tea tree oil reduce inflammation that leads to ingrown hair. Avoid alcohol-based aftershaves that dry the skin and force hairs to curl inward as they regrow.
What blending technique using clipper guards creates a professional fade?
Start with a #3 guard at the temples, blending 2 finger-widths above your ears. This “blend line” marks where your shorter sides meet longer top hair.
The taper height should sit 1-2 cm above your natural hairline on the neck. Any higher and you risk the “high and tight” military look; any lower and you’ll see shadow by week two. Use your Wahl Clipper with no guard (open blade) below this line, then snap on the #2 guard exactly at the 1-2 cm mark, fading upward into the #3 zone.
For the transition between clipper-cut sides and scissor-cut top, use “scissor-over-comb.” Hold a comb horizontally against your head where the sides meet the top. Snip the hair protruding through the comb teeth with your shears held parallel to the comb. This removes bulk without creating visible lines.
How do I recover from cutting mistakes and maintain my hair long-term?
For uneven sections, point-cut the longer side to match the shorter side rather than cutting more off the short side. This preserves length while disguising the error.
If you’ve created a visible “hole” or stripe, resist the urge to cut everything down to that level. Instead, use texturizing shears (thinning shears with teeth on one blade) to blend the area into surrounding hair. Remove 10% of the bulk around the mistake, then reassess in natural light.
Maintenance between cuts requires the right styling products. A dime-sized amount of hair pomade helps camouflage uneven ends by adding weight and shine that distracts from length discrepancies. For curly hair, a salt spray enhances natural texture that hides layered mistakes.
Dermatology guidance generally holds that wait three days before washing after a home cut. This allows natural oils to coat the fresh ends, preventing the dryness that makes home cuts look obvious. Trim every 3-4 weeks to maintain shape, or every 6-8 weeks if you’re growing it out.
What are Food and Drug Administration guidelines regarding tool sterilization for home hair cutting?
The Food and Drug Administration recommends sterilizing all cutting tools with 70% isopropyl alcohol before and after use. While the primarily regulates medical devices, their guidelines for preventing skin infections apply to any tool that breaks the skin barrier — including hair shears that might nick the scalp.
Soak your shears and hair clippers for 60 seconds, then air dry on a clean towel. Never use bleach — it corrodes the metal pivot and creates jagged edges that snag hair. The Food and Drug Administration specifically warns against sharing unsterilized grooming tools, as they can transmit staphylococcus bacteria that cause folliculitis.
Replace your blades if they pull rather than cut. Dull blades from the Food and Drug Administration’s list of consumer product hazards contribute to micro-cuts that become entry points for infection. A sharp Wahl Clipper blade should glide through dry hair without sound; any crunching noise means it’s time for oil or replacement.
What are the biggest mistakes beginners make when cutting their own hair?
I’ve made every one of these errors so you don’t have to.
Mistake #1: Cutting wet hair. I once cut my curly hair while damp, thinking precision would be easier. When it dried, I looked like I’d lost a bet. The shrinkage added 2 inches of perceived length that disappeared completely.
Mistake #2: Using kitchen scissors. The crushing action creates split ends that travel up the shaft. Within two weeks, your ends will look frayed and fried regardless of conditioning.
Mistake #3: Ignoring your neckline. A perfect top with a fuzzy neck ruins the silhouette. Always finish with a beard trimmer or safety razor cleanup to define the edges.
Mistake #4: Trying to add layers without the unicorn method. Freehanding layers creates uneven steps that require professional fixing. The ponytail method prevents this by using gravity as your guide.
What do professional stylists say about DIY hair cutting?
Frequently Asked Questions About Home Hair Cutting
Is it better to cut hair wet or dry for the most accurate results?
Dry cutting provides the most accurate results for home hair cutting. Wet hair stretches and masks cowlicks, leading to removal of too much length when it dries. The only exception is coarse, curly hair types, which should be stretched to full length while dry, then cut.
How do I fix an uneven cut if one side is shorter than the other?
Point-cut the longer side to match the shorter side using vertical snips. Do not cut the short side shorter to “balance” it — you’ll end up with a buzz cut. Use texturizing shears to blend the transition area if the difference is less than an inch.
Can I use regular kitchen scissors in an emergency if I don’t have professional shears?
No — wait until you obtain professional shears. Kitchen scissors crush the hair shaft, causing split ends that require inches of removal later. As of 2026, quality 6.5-inch shears start at $25 — cheaper than repairing the damage from dull blades.